.png)
PanelSettings
Users
Invite users, manage roles, and control project access
The Users page lets you invite new users, assign roles, and control access to merchants/projects. It’s the primary place to manage who can view and operate the LogDrop Panel.
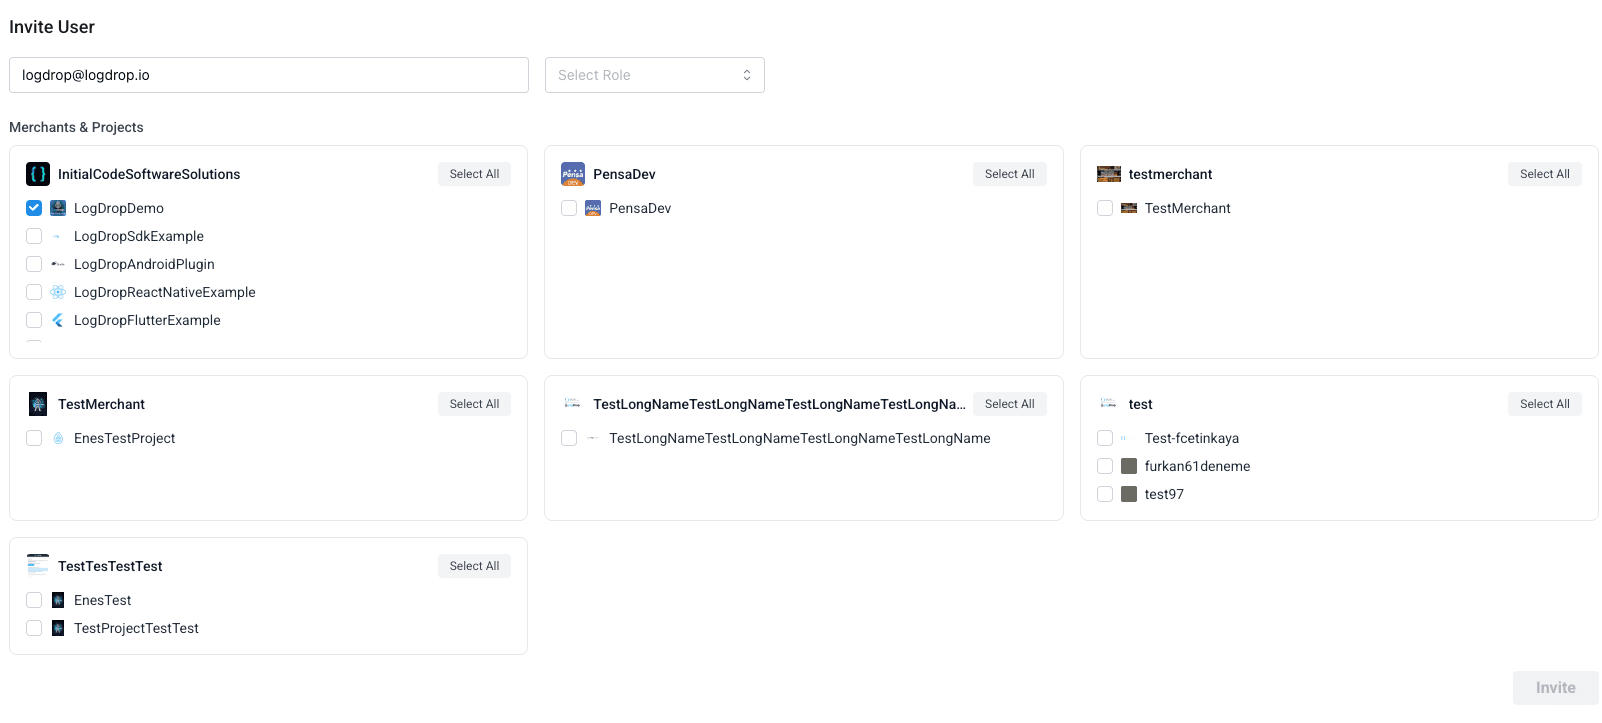
1) Invite a new user
- Open Settings → Users.
- Click Invite User (or equivalent action).
- Enter the user’s Email and choose a Role.
- Assign the user to the correct Merchant / Project (if applicable).
- Send the invitation.
Screenshot: Invite user form
2) Invitation link expiration
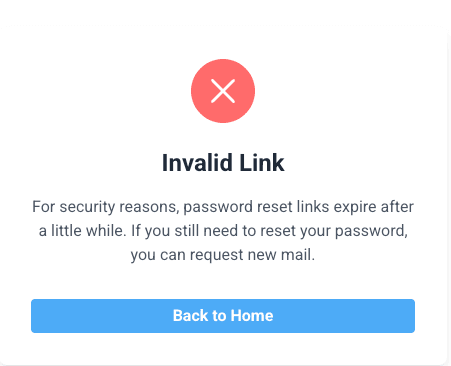
Invitation links are time-limited. If a user tries to activate after the link expires, you must send a new invitation.
Note: Invitation links expire in 24 hours.
Screenshot: Invitation status / expiration message
3) User list & status
The user table shows existing users, their roles, status, and actions you can take. Depending on configuration, you may see:
- Name and Email
- Role (permissions level)
- Status (Invited / Active / Disabled, etc.)
- Actions like Edit, Resend invite, or Remove
Screenshot: Users table

4) Roles & access control (best practice)
Use least-privilege: give users only the permissions they need for their job function. If a user can log in but cannot see a module or project, it’s usually due to missing role/project assignment.
- Give Admin roles only to a small number of trusted users.
- Ensure the user is assigned to the correct Project before troubleshooting UI visibility.
- After changing roles or assignments, ask the user to log out and log in again.